How to Enroll Printer in HP Instant Ink- HP Instant Ink is a subscription service that easily manages and obtains printer ink. It’s as simple as it automatically orders ink when your printer runs low, delivering it right to your door.
Steps for Enroll Printer in HP Instant Ink
This guide provides an in-depth description of the steps involved in enrolling your printer in HP Instant Ink.
Step 1: Check Printer Compatibility
Before you enroll make sure your printer is compatible with HP Instant Ink. The service supports many different types of HP printers mostly new models. Steps for confirming compatibility include:
- Visit the HP Instant Ink Website.
- Go through the collection of supported printers or then choose the “Find Your Printer” tool.
Step 2: Create or Log In to Your HP Account
The first stage of enrollment requires that you have an HP account with you. To do this follow the following instructions if you don’t have one yet:
- Go to the page where they provide information about signing up for an HP instant ink account.
- Click on “Sign In” if you have an account or “Create Account” if you need to register.
- For new accounts, provide the required details such as your name, email address, and password.
- Confirm registering by clicking on a link sent to your email address.
Step 3: Connect Your Printer to the Internet
To use HP Instant Ink, your printer has to be connected online. The connection enables it to send data and track ink levels from the servers at HP when necessary.
Wifi Connection:
- On the control panel on top of your printer, click network or wireless settings.
- Choose Wi-Fi from the available networks list for connection purposes.
- Connect by entering a Wi-Fi password in case you are asked for it.
Ethernet Connection:
- Put one end of an Ethernet cable into a router and another one into a printer thus connecting them tightly so that they will not fall apart before ensuring all is firmly fixed well inside.
Step 4: Gather Printer Information
For successful enrollment completion know several things concerning your printer:
- Serial Number: It is normally on a label at the back or bottom of your printer.
- Printer Email Address: The printer’s email address can be found in network settings or HP ePrint settings on the control panel of printers that support HP ePrint.
Step 5: Start the Enrollment Process
To begin with, you need to have an account with HP and then, get your printer details ready for enrollment;
- Log into your account at the HP Instant Ink website.
- Choose “Get started now” or “Sign up”.
- You will be prompted to fill in your serial number and other necessary information about an enrolled device.
- Select a suitable HP Instant Ink plan out of different types ranging from a few printouts to lots of them.
Step 6: Enter Payment Information
As such, it is important to state that payment methods must be added when signing up for this subscription, which usually has monthly fees;
- Type securely your credit or debit card information on the site.
- Go through the billing info to confirm it is right.
Step 7: Confirm and Complete Enrollment
Review all entered information, including printer details, selected plan, and payment information. Once everything is correct:
- Confirm that you want to proceed with registering for this service once it’s displayed on your screen.
- You will receive a confirmation email detailing your plan and subscription start date.
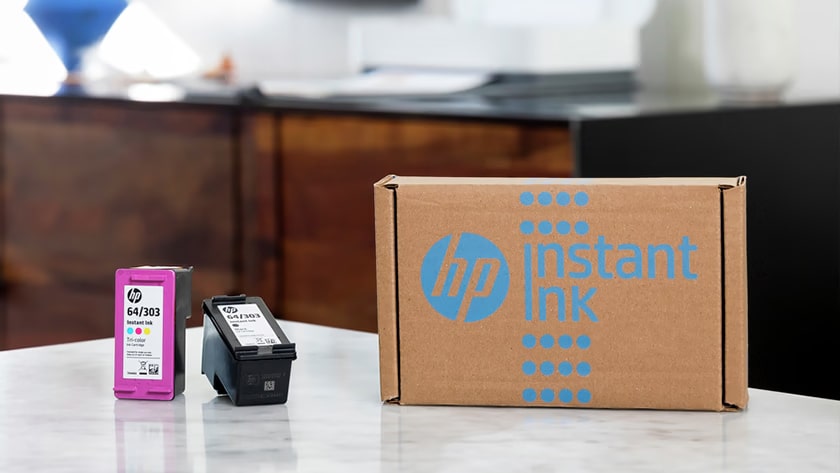
Step 8: Install HP Instant Ink Cartridges
After successfully enrolling for HP instant ink services, you should install ink cartridges provided by HP. We give you some steps to follow to install these cartridges:
- Take care when opening them after delivery because they may break upon impact.…
- Open the cartridge access door on the front of your printer.
- Erase the previous cartridges by pressing them down softly and dragging them out gently.
- To properly put in, align the new Instant Ink cartridges with the slots and crown them until you hear a click sound.
- Shut the cartridge access door.
- Afterward, proceed to adhere to any on-screen prompts that will lead you through the process of cartridge installation and alignment.
Conclusion
HP Instant Ink enrollment for one’s printer is a way that makes it impossible to run out of ink hence your printing experience will be flawless all along. These detailed steps would help you set up this service with ease, and get you started on automatic ink deliveries which are so convenient. This not only saves time but also can cost less as you pay for pages printed only. Enjoy HP Instant Ink without any hassle while printing. After following these steps you are unable to Enroll Printer in HP Instant Ink then you can contact HP Instant Ink customer support for any kind of problem.