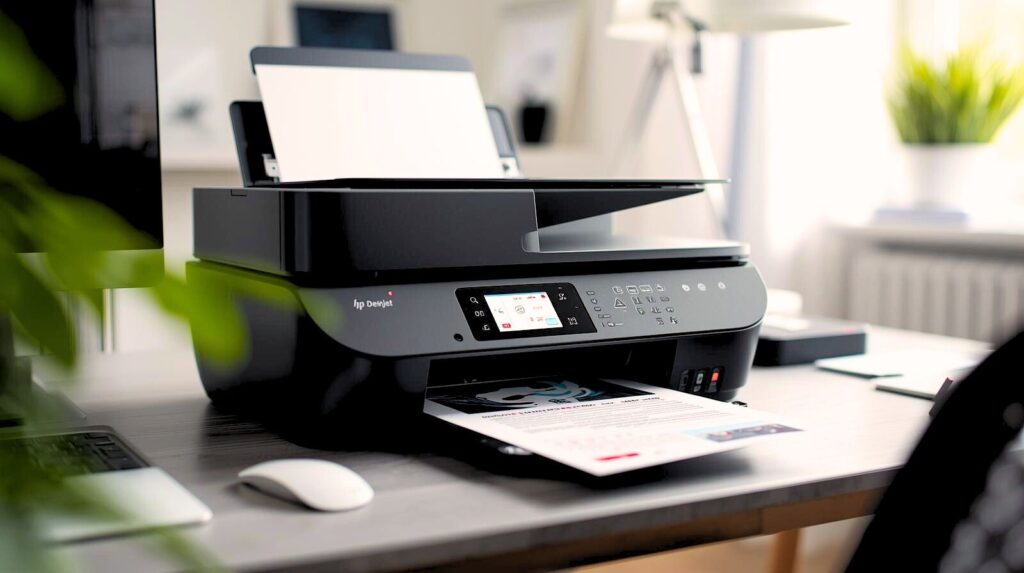
You can quickly complete the HP DeskJet 4100 printer installation for high-quality print, scan, and copy work at home or in your office. It has the flexibility of wireless connectivity and friendly features for everyday applications. In this guide, we have shared the instructions in a detailed and user-friendly way so that you can set up your HP DeskJet 4100 quickly. Follow these simple instructions to avoid common setup issues and get started using your printer as soon as possible.
Also Read: HP Color LaserJet Pro MFP 4301 Driver: Download and Installation Guide
Unboxing and Initial Preparation
To get things started, first unbox your HP DeskJet 4100 printer and make sure all the items are included.
- Remove the printer from its box, and then place it on a sturdy, level surface close to your power source and computer or mobile device.
- Box contents verification You should have the following items: HP DeskJet 4100 printer, power cord, USB cable (if applicable), ink cartridges, setup poster, and user documentation.
- Remove any stickers or tapes from the outside of the printer, and also from the scanner glass and paper tray.
- Open the paper tray and load a small amount of plain paper to be used for testing.
This first step helps avoid breakages and simplifies the assembly process.
Installing Ink Cartridges
Correct ink setup is important for the HP DeskJet 4100 to work at its best.
- Open the ink cartridge access door at the front of the printer.
- When the cartridge carriage completely stops, it’s now ready to print.
- Open the real HP ink cartridges that came with it (usually black and tri-color).
- Peel the protective tape off each cartridge by pulling gently, touching only the sides in order to refrain from touching the copper contacts or ink nozzles.
- Part the black cartridge on the right side, then part the tri-color on the left, and press until it snaps in.
- Close the access door the HP 4100 will automatically align the cartridges. This process may take a few seconds.
Only original HP cartridges deliver consistent quality, so you don’t waste time and money.
Attaching the Power and Turning On the Printer
Power connection Your HP DeskJet 4100 is next to connect to the power connection.
- Plug one end of the power cord into the back side of your printer and the other end into a wall outlet.
- Press the power button on the control panel of the printer to switch it on.
- The printer will start initializing, and the power light will blink.
- Choose your language, country, and date/time in the control panel if prompted on the screen with the touchscreen or buttons.
This turns the device on and gets it ready to install software.
Download and Install HP Smart from Other Methods
To gain full benefit from the HP DeskJet 4100, you need to install the HP Smart app or driver software.
- Go to the official HP site (hp. com/support) and enter HP DeskJet 4100 drivers.
- How to Install the HP Tango App: Download the app called HP Smart, which is compatible with Windows, Mac OS/iOS, and Android.
- Run the installer and continue with the on-screen instructions to link the printer.
- For wireless installation: Your computer or mobile device must be connected to the same Wi-Fi network. Software for the HP DeskJet 4100. During installation, it will notify you if there are any other HP devices that are also experiencing a loss of connection.
- You can directly connect it with a USB cable if you do not prefer wireless.
Print, scan, and maintain from a phone with the HP Smart app.
Printer Alignment and Test Print
This HP DeskJet 4100 Alignment guarantees you a crisp and clear printing experience.
- After the software installation is done, the HP Smart app will ask you to align your printer.
- Load alignment paper if necessary, and then print an alignment page.
- To finish alignment, scan the printed page using the scanner of the printer.
- Confirm that the product can print a test page from the app or software program, then try to print from another source.
This is how the printer gets tuned up to perform its best.
Wi-Fi and Mobile Devices
Wireless connectivity increases the range you can use your HP DeskJet 4100.
- On the control panel of the printer, go to the wireless setup wizard.
- Choose your Wi-Fi network and type in the password if necessary.
- Click Connect the light on the adapter should turn solid blue.
- On mobile, simply use the HP Smart app to add the HP DeskJet 4100 and enjoy mobile printing capabilities such as AirPrint (iOS) or Mopria (Android).
This makes it possible to print from anywhere in your network.
Troubleshooting Common Setup Issues
If you encounter any problems during HP DeskJet 4100 installation, solve them one by one.
- Printer is offline: Reboot the printer, make Wi-Fi compatible, or use by USB (Alternate Method).
- Ink Cartridge Errors: Reinstall the ink cartridges or attempt to verify that they are HP genuine ink.
- Software Installs Fail: Disable the anti-virus temporarily or download HP’s full driver package from their website.
- Paper Jams: Clear trays and reload paper properly.
Consult the user manual or HP support for more troubleshooting options.
HP DeskJet 4100 Maintenance Tips
Regular servicing will prolong the life of your HP DeskJet 4100.
- Clean printheads from the HP Smart app if you experience streaking in your prints.
- Upgrade firmware via the app to continue using updated features for better performance.
- Print with great detail on high-quality paper, without experiencing jams or making an effort to achieve the kind of results you want.
- Check the ink and replace cartridges as needed.
When you do this, your printer will work problem-free.
Final Thoughts
The setup of the HP DeskJet 4100 is quick through this guide and takes up to 15-30 minutes. Experience your print project without hassle and discover smart printing features such as double-sided printing or cloud printing. For additional help, you can check HP support resources.